
Recording high-quality music no longer requires an expensive professional studio. With the right setup, you can create professional-sounding recordings at home—even on a budget.
This guide will walk you through choosing essential equipment, setting up your space, and recording music at home without overspending.
Why You Should Build a Home Studio
A home studio allows you to record, mix, and produce music at any time, without needing to rent expensive studio time. Benefits include:
- Creative freedom – Work on your music whenever inspiration strikes
- Cost savings – Avoid paying hourly rates for professional studios
- Better recording skills – Improve your production and engineering knowledge
- More music output – Release music faster by working from home
With the right tools and techniques, even a budget setup can produce high-quality recordings.
Step 1: Choose the Right Computer and Software
Your computer is the heart of your home studio. You don’t need the latest model, but it should be fast and reliable for music production.
Minimum Computer Requirements
- Processor: Intel i5 or higher (or Apple M1/M2 for Mac users)
- RAM: At least 8GB (16GB recommended for larger projects)
- Storage: SSD (Solid-State Drive) for faster performance
Best Free and Affordable DAWs (Digital Audio Workstations)
- Reaper – Professional features with a low-cost license ($60)
- GarageBand – Free for Mac users, great for beginners
- Cakewalk by BandLab – A powerful free DAW for Windows users
- Tracktion Waveform Free – Great for beginners with unlimited track support
Investing in a powerful computer and a good DAW is the first step to building a functional home studio.
Step 2: Get an Audio Interface
An audio interface connects your microphone and instruments to your computer, converting analog signals into digital audio.
Best Budget Audio Interfaces
- Focusrite Scarlett 2i2 – One of the most popular, great for beginners ($170)
- PreSonus AudioBox USB 96 – Affordable and reliable ($99)
- Behringer UMC22 – A budget-friendly option for solo artists ($49)
Most budget interfaces come with two inputs—enough for vocals and an instrument.
Step 3: Choose a Quality Microphone
A good microphone is essential for clear, professional recordings.
Best Budget Microphones
- Audio-Technica AT2020 – Versatile and high-quality ($99)
- Rode NT1-A – Low noise and great for vocals ($229)
- Shure SM58 – Best dynamic microphone for live and studio use ($99)
For home recording, a condenser microphone is ideal for capturing vocals and acoustic instruments.
Step 4: Get a Pair of Studio Headphones or Monitors
Regular headphones and speakers aren’t accurate enough for professional mixing.
Best Budget Studio Headphones
- Audio-Technica ATH-M50x – Industry standard for mixing ($149)
- Sony MDR-7506 – Great for detailed sound ($99)
- Sennheiser HD 280 Pro – Affordable and reliable ($99)
Best Budget Studio Monitors
- KRK Rokit 5 G4 – Great entry-level studio monitors ($179 each)
- Yamaha HS5 – Flat response for accurate mixing ($199 each)
- PreSonus Eris 3.5 – Best ultra-budget monitors ($99 per pair)
Studio monitors provide better accuracy, but headphones are a cheaper alternative for small spaces.
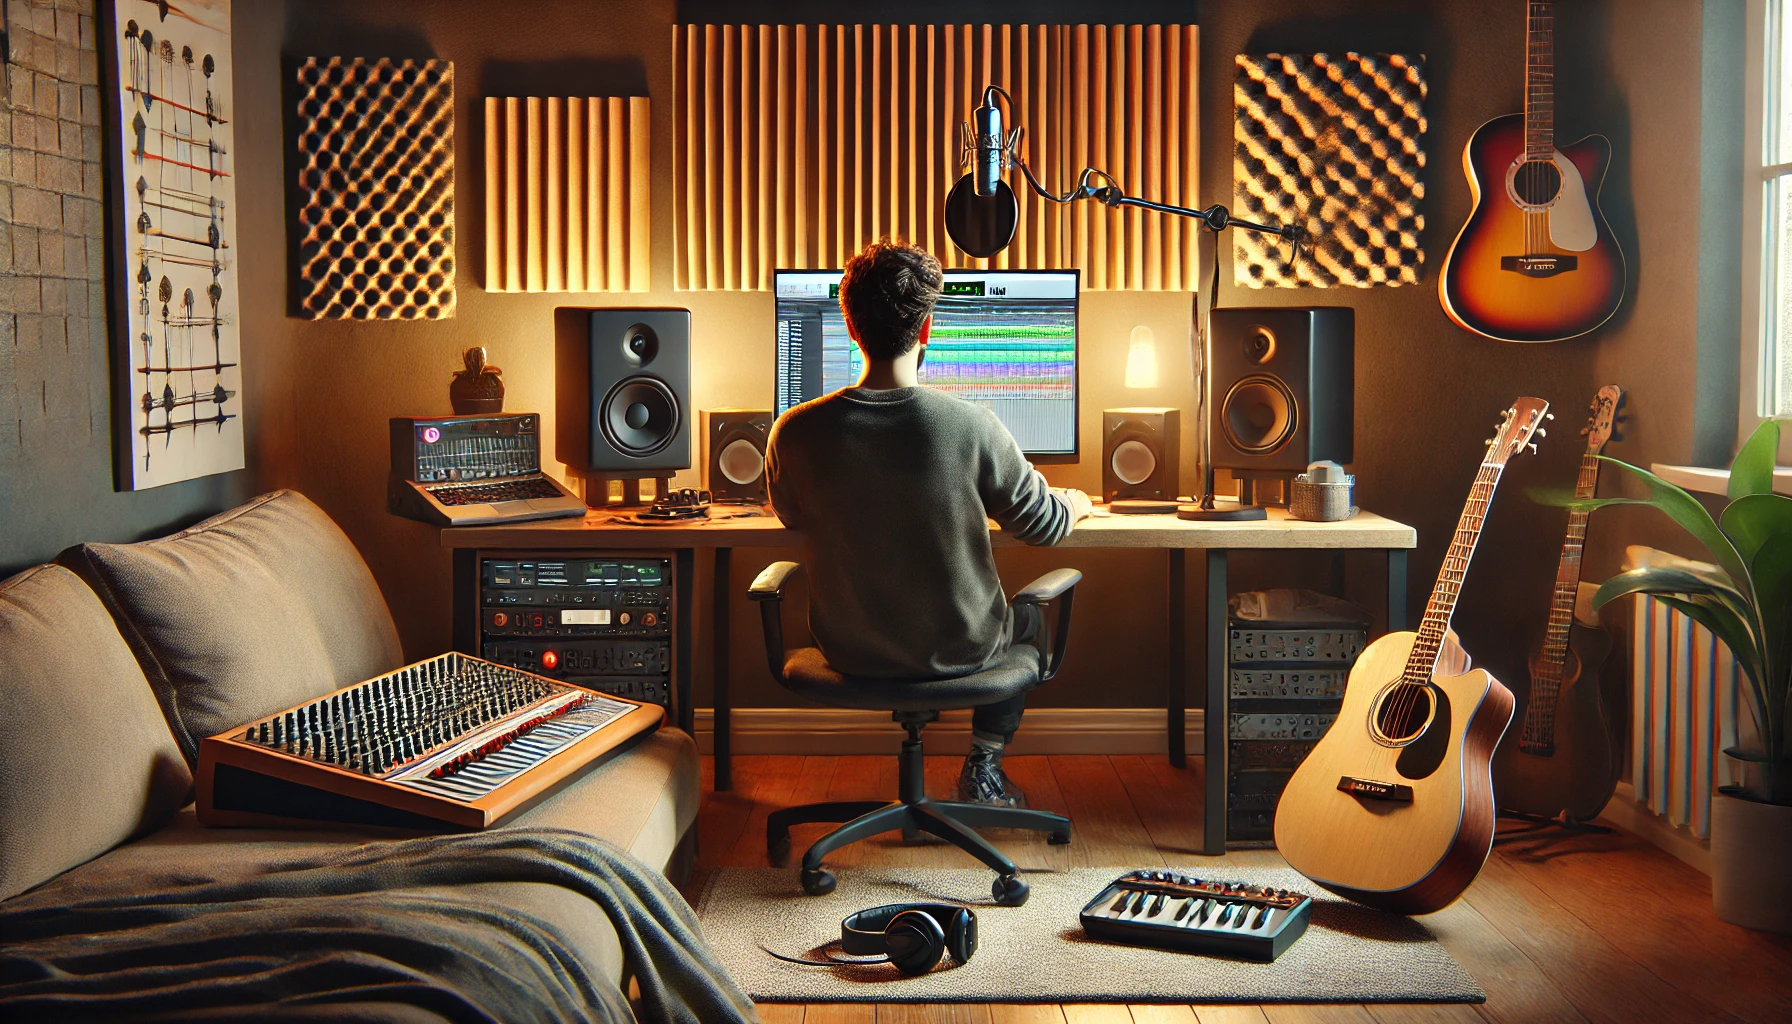
Step 5: Treat Your Room for Better Sound
A poorly treated room can cause echo, unwanted reflections, and poor sound quality.
Cheap Ways to Improve Acoustics
- Use foam panels or blankets on walls to reduce reflections
- Place a rug on hardwood floors to absorb sound
- Add bookshelves and furniture to break up sound waves
- Use DIY bass traps (rolled-up towels in corners)
Acoustic treatment makes a huge difference in recording and mixing quality.
Step 6: Get Essential Cables and Accessories
Must-Have Accessories
- XLR cables – For connecting your microphone to the audio interface
- Mic stand and pop filter – Helps improve vocal recording quality
- MIDI keyboard (optional) – Useful for playing virtual instruments
These small additions help improve workflow and recording efficiency.
Step 7: Learn Basic Recording Techniques
Even with great equipment, bad recording techniques can ruin your sound.
Best Practices for Recording at Home
- Record in a quiet room to avoid background noise
- Keep a consistent distance from the microphone (about 6 inches)
- Use a pop filter to reduce harsh “P” and “B” sounds
- Experiment with mic positioning to get the best sound
- Record multiple takes and choose the best one
Taking time to learn proper recording techniques ensures your music sounds professional.
Step 8: Start Mixing and Producing Your Own Songs
Mixing is where you balance levels, EQ instruments, and add effects.
Free & Affordable Mixing Plugins
- TDR Nova – Free dynamic EQ plugin
- Valhalla Supermassive – Free high-quality reverb
- iZotope Neutron Elements – Affordable mixing assistant ($129)
Basic Mixing Tips
- Keep the volume balanced – No instrument should overpower the mix
- Use EQ to remove unwanted frequencies and enhance clarity
- Apply compression to smooth out dynamic changes
- Use reverb and delay subtly to create space
Mixing takes practice, but with time, you can achieve a professional sound from home.
Step 9: Use Free Resources to Learn Music Production
Music production is a skill that improves with practice and learning.
Best Free Learning Resources
- YouTube Channels:
- Produce Like a Pro
- In the Mix
- ADSR Music Production
- Websites & Courses:
- Coursera (Intro to Music Production)
- Sound On Sound (articles and tutorials)
- iZotope Blog (mixing tips)
Using free educational resources helps you grow as a producer without spending money.
Step 10: Start Recording and Releasing Your Music
Once your home studio is set up, start recording and releasing music.
How to Make the Most of Your Home Studio
- Set a regular schedule for recording and mixing
- Collaborate with other musicians to improve your skills
- Release your music online through digital distribution (DistroKid, TuneCore)
- Continue upgrading your setup over time as your skills grow
Your home studio is an investment in your music career—start using it to create and release great music.
Final Thoughts
Building a home recording studio on a budget is possible with affordable gear, proper setup, and good recording techniques.
By investing in the essentials, learning production skills, and practicing consistently, you can create professional-quality music from home without breaking the bank.
The key to success is getting started and improving over time—your home studio will grow with you as a musician.