
Creating music from the comfort of your own home has never been easier, thanks to advancements in technology and accessible equipment. Whether you’re an aspiring producer or a musician looking to experiment with recording, home music production offers endless opportunities for creativity. This guide provides practical tips to help you set up your studio, choose the right tools, and produce professional-quality music without leaving your house.
Step 1: Set Up Your Home Studio
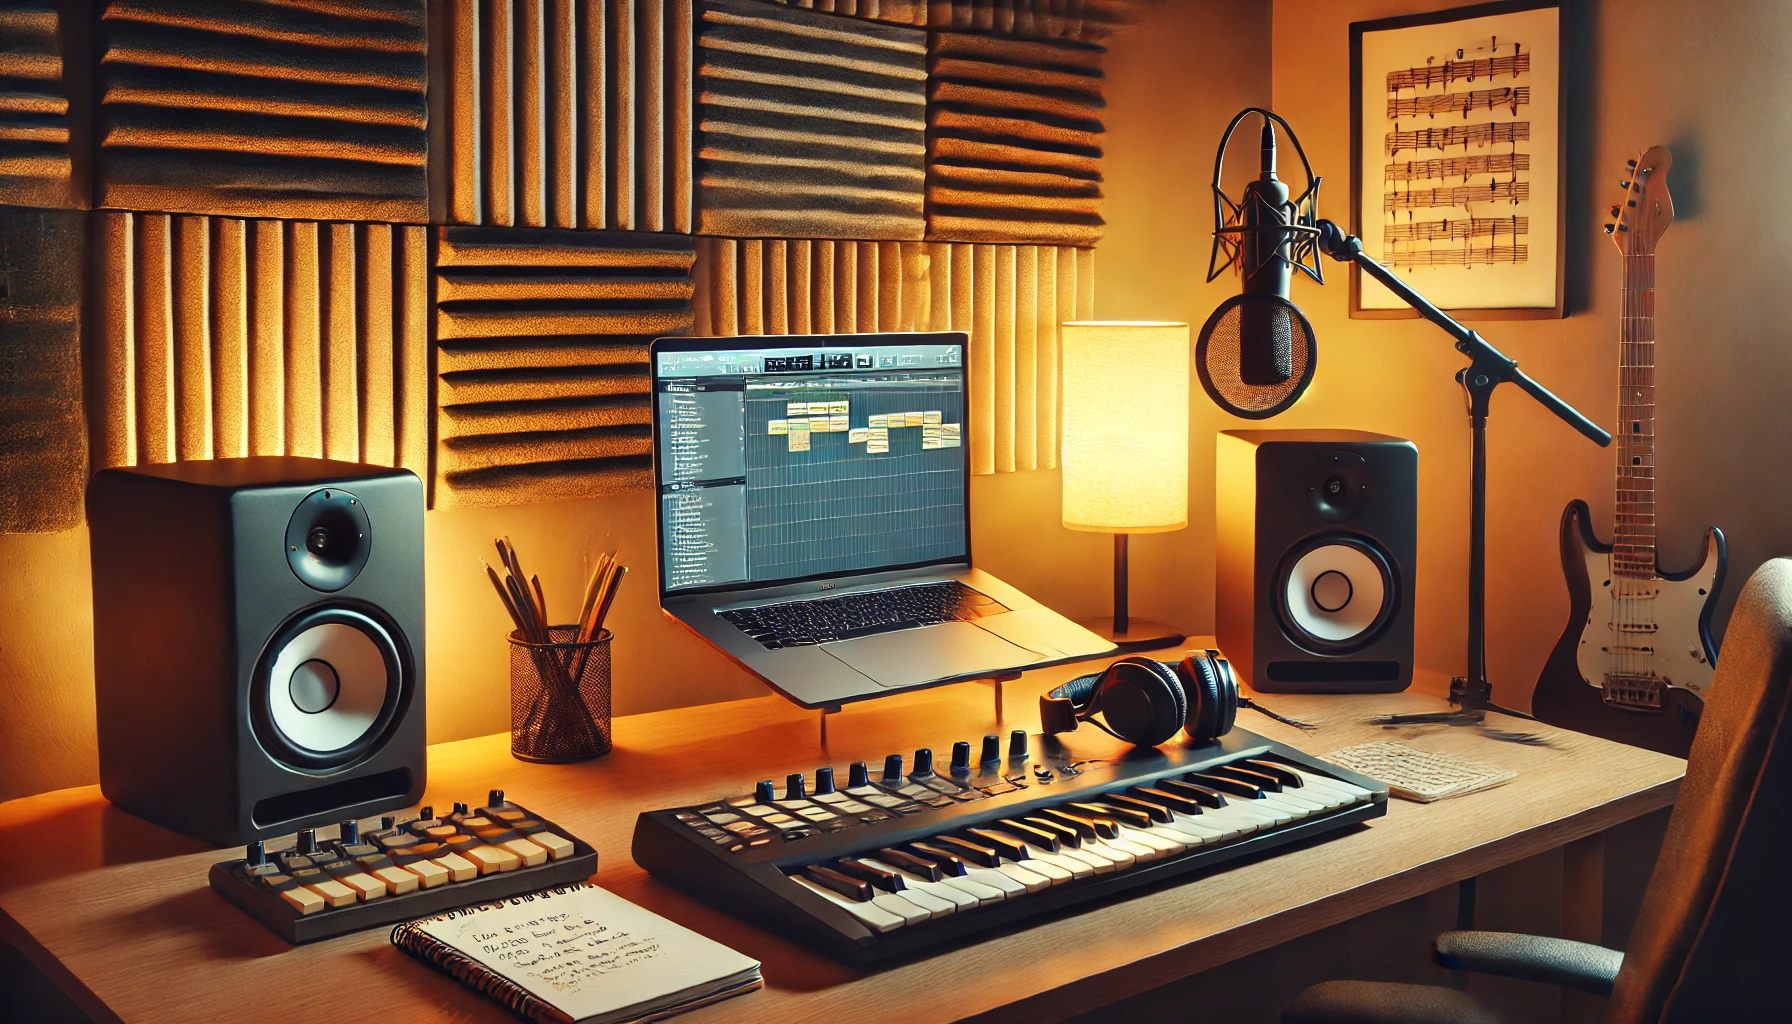
A functional home studio doesn’t require expensive gear—it just needs the right setup. Here are the essentials:
Choose the Right Space
Find a quiet, distraction-free space in your home. Ideally, the room should have minimal background noise and little to no echo. If possible, choose a space with carpeting or curtains, as they help absorb sound.
Invest in Basic Equipment
To get started, you’ll need a few key items:
- Computer: A reliable computer is the backbone of your studio. Ensure it has enough processing power to run music production software.
- Digital Audio Workstation (DAW): A DAW is software that allows you to record, edit, and produce music. Popular options include:
- GarageBand (Mac, free for beginners).
- Ableton Live (great for electronic music).
- FL Studio (easy-to-learn interface).
- Audio Interface: This device connects your instruments and microphones to your computer, improving sound quality.
- Studio Monitors or Headphones: Invest in flat-response studio monitors or high-quality headphones to hear your music accurately.
- Microphone: A condenser microphone is a versatile choice for recording vocals and acoustic instruments.
Optional Add-Ons
As you grow, you might consider adding:
- MIDI controllers for creating melodies and beats.
- Acoustic panels to reduce echo and improve sound quality.
- Additional microphones for recording multiple sources.
Step 2: Learn the Basics of Your DAW
Your DAW is your main tool for music production, so take the time to learn its interface and functions. Start with these basics:
- Track creation: Learn how to add audio or MIDI tracks to your project.
- Recording: Practice recording vocals or instruments using your audio interface.
- Editing tools: Familiarize yourself with cutting, copying, and looping sections of audio.
- Effects and plugins: Experiment with reverb, EQ, and compression to shape your sound.
Most DAWs have tutorials and online resources to help you get started.
Step 3: Start with Simple Projects
When starting out, focus on small, manageable projects instead of tackling a full album. Here are some ideas:
- Create a beat using loops and MIDI instruments.
- Record a cover of a favorite song.
- Experiment with layering sounds to create textures.
Simple projects help you build confidence and understand the basics of arrangement and mixing.
Step 4: Experiment with Sounds and Genres
Home production is the perfect time to explore your creativity. Don’t be afraid to try new sounds, effects, or genres. Here are some ways to expand your horizons:
- Sampling: Use snippets from other recordings (legally!) to add unique elements to your tracks.
- Synths and Virtual Instruments: Play around with synthesizers and virtual instruments to create unique tones.
- Genre Blending: Combine elements of different genres, like adding orchestral strings to an electronic beat.
Experimentation is how you’ll discover your unique sound as a producer.
Step 5: Understand Basic Mixing Techniques
Mixing is the process of balancing and enhancing your tracks to create a polished final product. Focus on these key areas:
- Volume levels: Adjust the volume of each track so no element overpowers the others.
- Panning: Place instruments in different parts of the stereo field to create depth.
- EQ: Use equalization to remove unnecessary frequencies and make each instrument stand out.
- Compression: Control the dynamics of your tracks to create a consistent sound.
- Reverb and delay: Add space and atmosphere to your mix, but don’t overdo it.
While mastering mixing takes time, these basics will help you create cleaner and more professional-sounding tracks.
Step 6: Use Reference Tracks
Compare your mix to professionally produced songs in a similar style. Reference tracks help you identify areas where your mix might need improvement, such as:
- Overall balance of instruments.
- Loudness levels.
- Tonal quality and clarity.
This practice is especially useful for beginners learning to match industry standards.
Step 7: Collaborate and Get Feedback
Music production doesn’t have to be a solo endeavor. Collaborating with others can inspire new ideas and help you improve. Consider:
- Sharing your work with friends or fellow musicians for constructive criticism.
- Joining online music communities to connect with other producers.
- Collaborating remotely by sending tracks back and forth.
Feedback is invaluable for identifying areas of improvement and building your confidence.
Step 8: Stay Organized
Keeping your projects and files organized will save you time and reduce frustration. Use these tips:
- Create folders for each project, including subfolders for audio, MIDI, and mixes.
- Label your tracks clearly (e.g., “Lead Vocals” or “Drums”).
- Back up your files regularly to avoid losing your work.
An organized workflow makes the production process smoother and more enjoyable.
Step 9: Keep Learning and Growing
Music production is a journey, and there’s always more to learn. Here’s how to continue improving:
- Watch tutorials: Platforms like YouTube offer free lessons on virtually every aspect of music production.
- Take online courses: Websites like Skillshare and Coursera have beginner-friendly music production classes.
- Experiment: Don’t be afraid to try new techniques and push your creative boundaries.
Every track you create teaches you something new, so embrace the learning process.
Conclusion
Producing music at home is an exciting and rewarding way to express yourself creatively. By setting up a functional studio, mastering the basics of your DAW, and experimenting with sounds, you can create music that reflects your unique style. Remember, it’s not about having the most expensive gear—it’s about your creativity and dedication. Start small, stay consistent, and watch your skills grow with each project.