
Choose the Right Space
The first step to building your home recording studio is choosing the right room. Look for a quiet space that minimizes external noise. A room with carpets, curtains, or rugs is ideal, as these materials help absorb sound and reduce echo. Avoid spaces with too many hard surfaces, as they can create unwanted reflections.
Invest in Essential Equipment
You don’t need expensive equipment to get started. Here are the must-have items for a budget-friendly setup:
- Computer: A reliable computer is the core of your studio. It doesn’t need to be high-end; just ensure it can handle recording software without lagging.
- Digital Audio Workstation (DAW): This is the software for recording, editing, and mixing your music. Beginner-friendly and affordable options include GarageBand (Mac), Audacity (free, cross-platform), and Reaper (low-cost).
- Audio Interface: This device connects your instruments and microphones to your computer while improving audio quality. Entry-level options like the Focusrite Scarlett Solo or PreSonus AudioBox are perfect for beginners.
- Microphone: A condenser microphone is great for vocals and acoustic instruments. Affordable options include the Audio-Technica AT2020 or Samson C01.
- Headphones or Studio Monitors: Start with good headphones like the Audio-Technica ATH-M40x. If possible, invest in budget studio monitors for accurate sound playback.
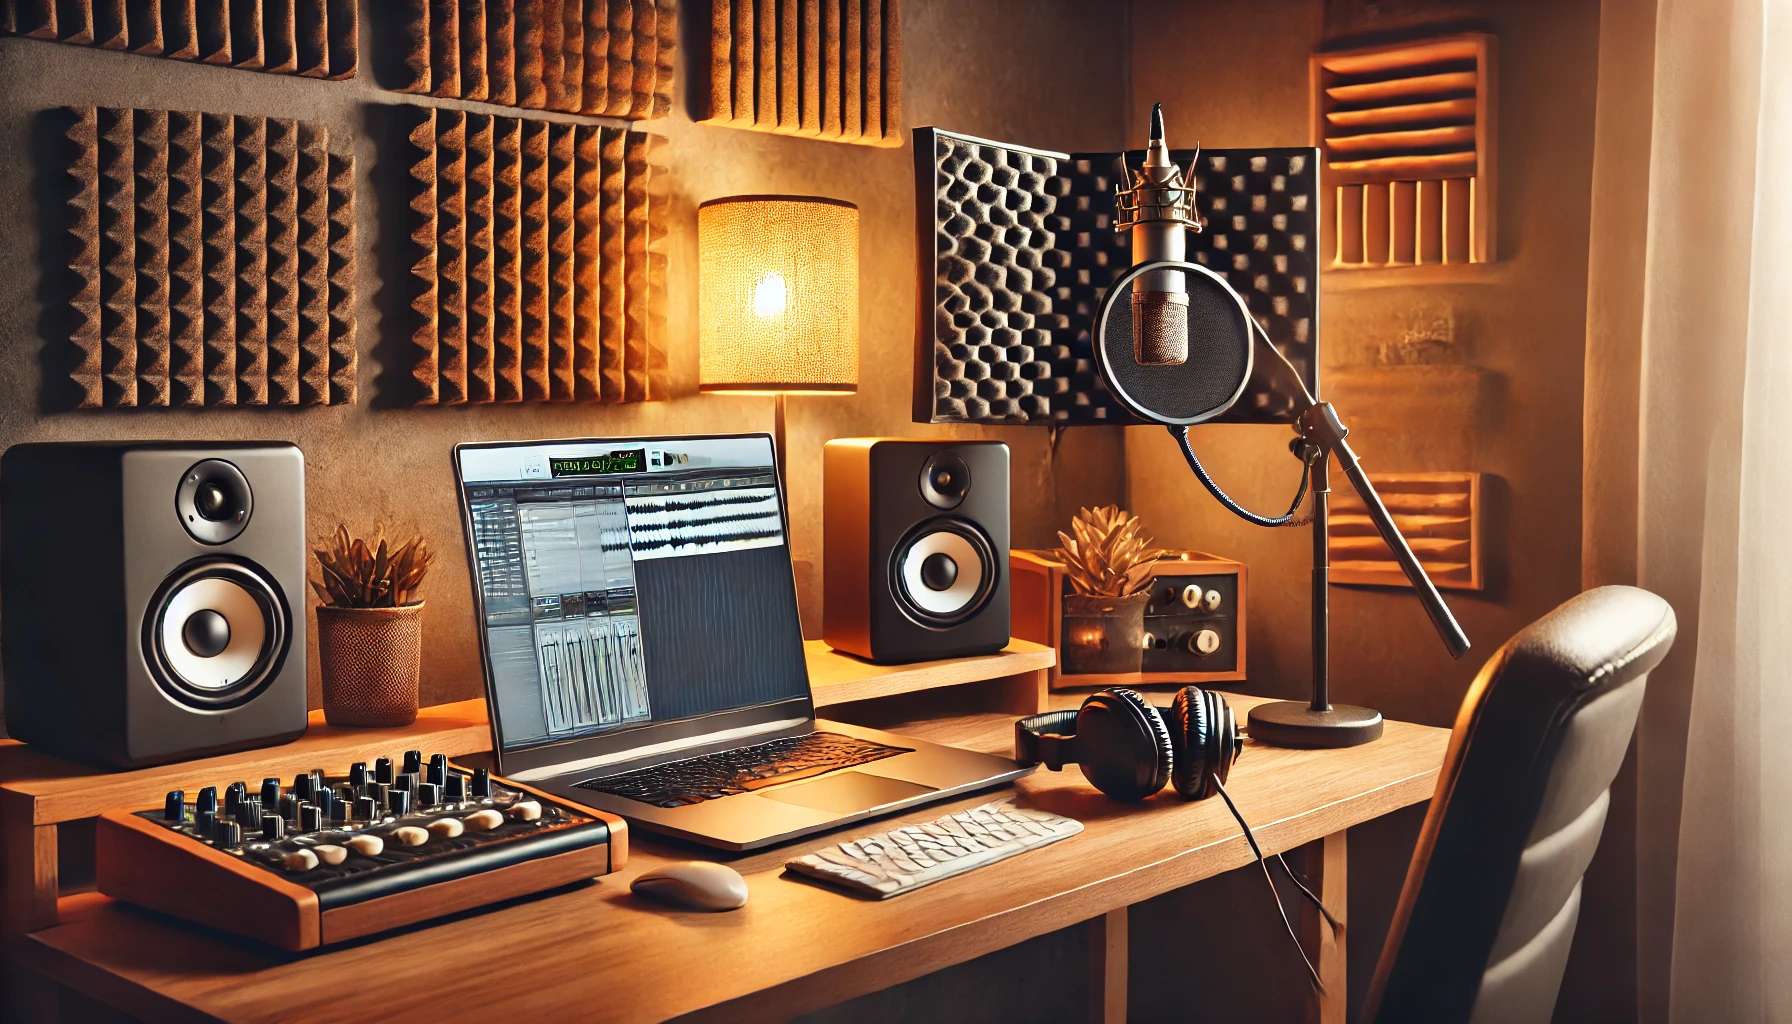
Optimize Your Recording Space
Acoustic treatment can make a huge difference in the quality of your recordings. Start with these tips:
- Install foam panels or blankets on the walls to absorb sound.
- Use rugs, curtains, or furniture to minimize echoes and reverb.
- Position your desk and monitors slightly away from walls for better sound clarity.
Create an Efficient Setup
Organize your equipment for a smooth workflow. Place your audio interface, microphone, and headphones within easy reach. Keep cables neatly organized to avoid clutter, and invest in a comfortable chair for long recording sessions.
Experiment with Placement and Settings
The placement of your equipment affects the sound quality. For example:
- Position your microphone in the center of the room, away from walls, to avoid reflections.
- Place studio monitors at ear level and in an equilateral triangle with your listening position.
- Adjust your mic angle and distance to find the best sound for vocals or instruments.
Learn Basic Recording Techniques
Mastering simple recording techniques ensures your tracks sound professional. Focus on:
- Setting levels correctly to avoid distortion.
- Using a pop filter to reduce plosive sounds in vocals.
- Experimenting with mic placement to capture the best tone for each instrument.
Use Free or Affordable Tools
Most DAWs include built-in effects like EQ, compression, and reverb. Explore these tools to enhance your recordings. Additionally, search for free plugins online to expand your creative options without spending extra money.
Upgrade Gradually
As you grow more confident in your recording skills, consider upgrading your setup. Start with items that will have the most impact, like higher-quality microphones, studio monitors, or MIDI controllers. Focus on improving your skills before expanding your gear collection.
Conclusion
Building a home recording studio on a budget is achievable with careful planning and the right priorities. By starting with essential equipment, optimizing your space, and learning basic recording techniques, you can produce professional-quality tracks without overspending. Remember, great music comes from creativity and practice, not just expensive gear.