
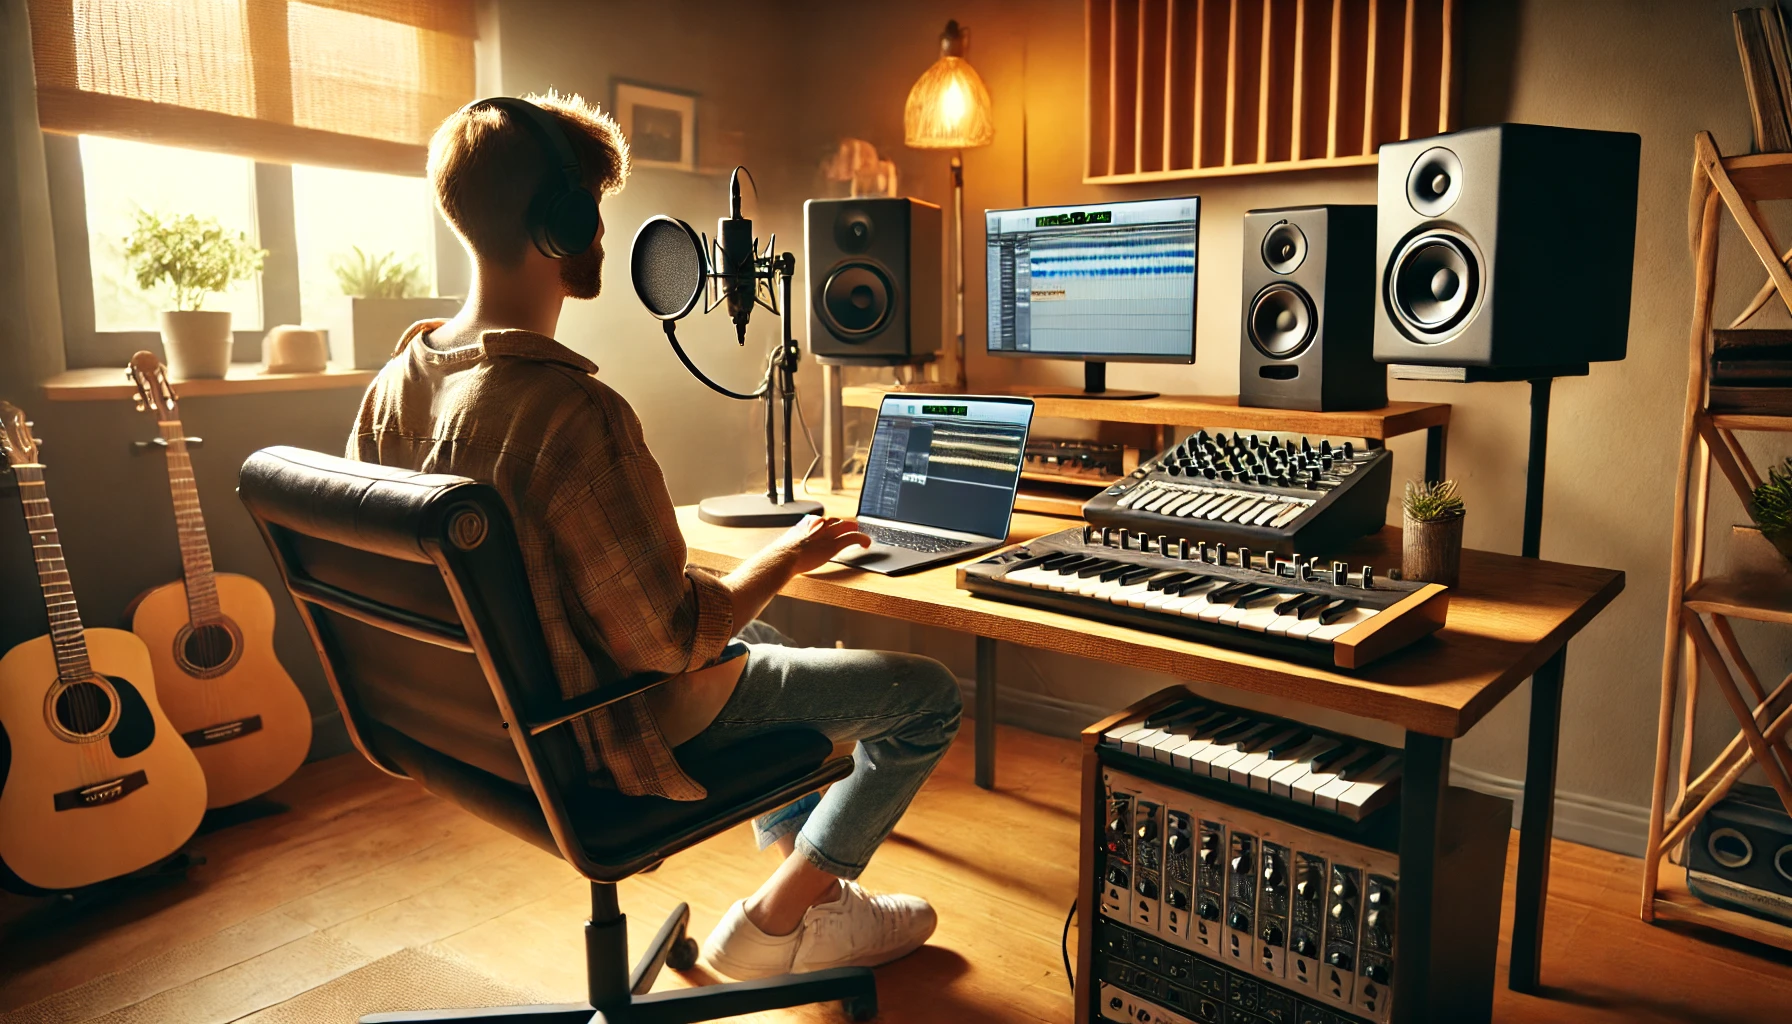
Recording music at home has become more accessible than ever, thanks to affordable equipment and user-friendly technology. Whether you’re a singer-songwriter, a producer, or part of a band, creating a home studio allows you to capture your musical ideas whenever inspiration strikes. In this guide, we’ll walk you through the essentials of starting your own home recording setup and recording professional-quality tracks.
Choose the Right Space
The first step is finding a suitable space for recording:
- Quiet environment: Choose a room with minimal outside noise and distractions.
- Good acoustics: A room with some furniture, curtains, or carpets can help reduce echoes and reflections.
- Dedicated area: Create a setup where your gear can stay organized and ready to use.
While perfect acoustics aren’t necessary, a well-chosen space improves the quality of your recordings.
Invest in Basic Equipment
You don’t need expensive gear to start recording music at home. Begin with these essentials:
- Computer: A reliable laptop or desktop for running recording software.
- Digital Audio Interface (DAI): Connects your instruments and microphones to your computer. Popular options include Focusrite Scarlett and PreSonus AudioBox.
- Microphone: A condenser mic for vocals and acoustic instruments (e.g., Audio-Technica AT2020 or Shure SM58).
- Headphones: Closed-back headphones (e.g., Audio-Technica ATH-M50x) for monitoring without sound leakage.
- Studio Monitors: Speakers like KRK Rokit or Yamaha HS series for accurate sound playback.
Start with these basics and upgrade as your needs evolve.
Set Up Your Digital Audio Workstation (DAW)
A DAW is the software you’ll use to record, edit, and mix your music. Popular DAWs include:
- GarageBand (Free for Mac users): User-friendly for beginners.
- Audacity: Free and great for basic recording tasks.
- Ableton Live: Excellent for electronic music production.
- FL Studio or Logic Pro: Ideal for intermediate to advanced users.
Choose a DAW that matches your budget and musical style, and spend time learning its features.
Learn How to Position Your Microphone
Proper microphone placement is crucial for capturing clean, clear audio:
- Vocals: Position the mic about 6–12 inches away from your mouth. Use a pop filter to reduce plosive sounds (e.g., “p” or “b”).
- Acoustic guitar: Place the mic near the soundhole or where the neck meets the body for balanced tone.
- Drums: Experiment with overhead mics or close-miking individual drums.
Experiment with angles and distances to find the best sound for your recordings.
Control Room Acoustics
Improving your room’s acoustics helps you achieve better sound quality:
- Use foam panels or bass traps: Minimize echoes and control low frequencies.
- Place a rug under your setup: Absorbs reflections from hard floors.
- Experiment with placement: Move furniture or equipment to reduce unwanted resonance.
Good acoustics make mixing and recording more accurate and enjoyable.
Record in Layers
Layering your recordings ensures a polished final product:
- Start with the foundation: Record rhythm instruments like drums, bass, or rhythm guitar first.
- Add melodic elements: Layer melodies, harmonies, or leads.
- Record vocals last: Perform the vocals once the instrumental tracks are complete.
Recording in layers gives you control over each element during mixing.
Use Effects to Enhance Your Sound
Add effects sparingly to shape your recordings:
- Reverb: Adds space and depth to vocals or instruments.
- EQ (Equalization): Balances frequencies to make your tracks sound cleaner.
- Compression: Smooths out volume inconsistencies.
- Delay: Creates echo effects for a fuller sound.
Experiment with effects to enhance your sound without overloading the mix.
Practice Mixing and Editing
Mixing is where your recordings come to life:
- Balance levels: Adjust the volume of each track to create a cohesive mix.
- Pan tracks: Position instruments across the stereo field for clarity.
- Cut unwanted noise: Use noise gates or remove unnecessary frequencies.
Take your time to refine your mix, and compare it to professional recordings for reference.
Save and Back Up Your Work
Protect your hard work by saving and backing up your projects:
- Save multiple versions of your project as you edit.
- Back up your files to an external hard drive or cloud storage.
Losing a project can be devastating, so always create backups.
Share Your Music
Once your track is ready, share it with the world:
- Upload to platforms like SoundCloud, Bandcamp, or YouTube.
- Submit your music to streaming services like Spotify or Apple Music.
- Share your work on social media to connect with listeners and other musicians.
Sharing your music is the final step in bringing your vision to life.
Conclusion
Starting to record music at home doesn’t require a huge budget or extensive experience—just the right tools, some creativity, and a willingness to learn. By investing in basic equipment, experimenting with recording techniques, and mastering your DAW, you can create music that reflects your unique sound. Embrace the process, and enjoy turning your home into a personal recording studio!